Sunday, March 11, 2012

CR Fork Oil

Today's update is a little slim, things have slowed a bit as I wait for items on ebay to sell so I have more project money.  Actually I have paid for my project bike as of this week and I have some reserves in the account however I also have some very large (large as in expensive, tires, sprockets and chains, Piston kit) items to purchase so I have to save up a few more dollars.  Much of the cash is going toward the KX project until that one is finished. Its getting close. www.kx125project.blogspot.com .  Now on to the CR.

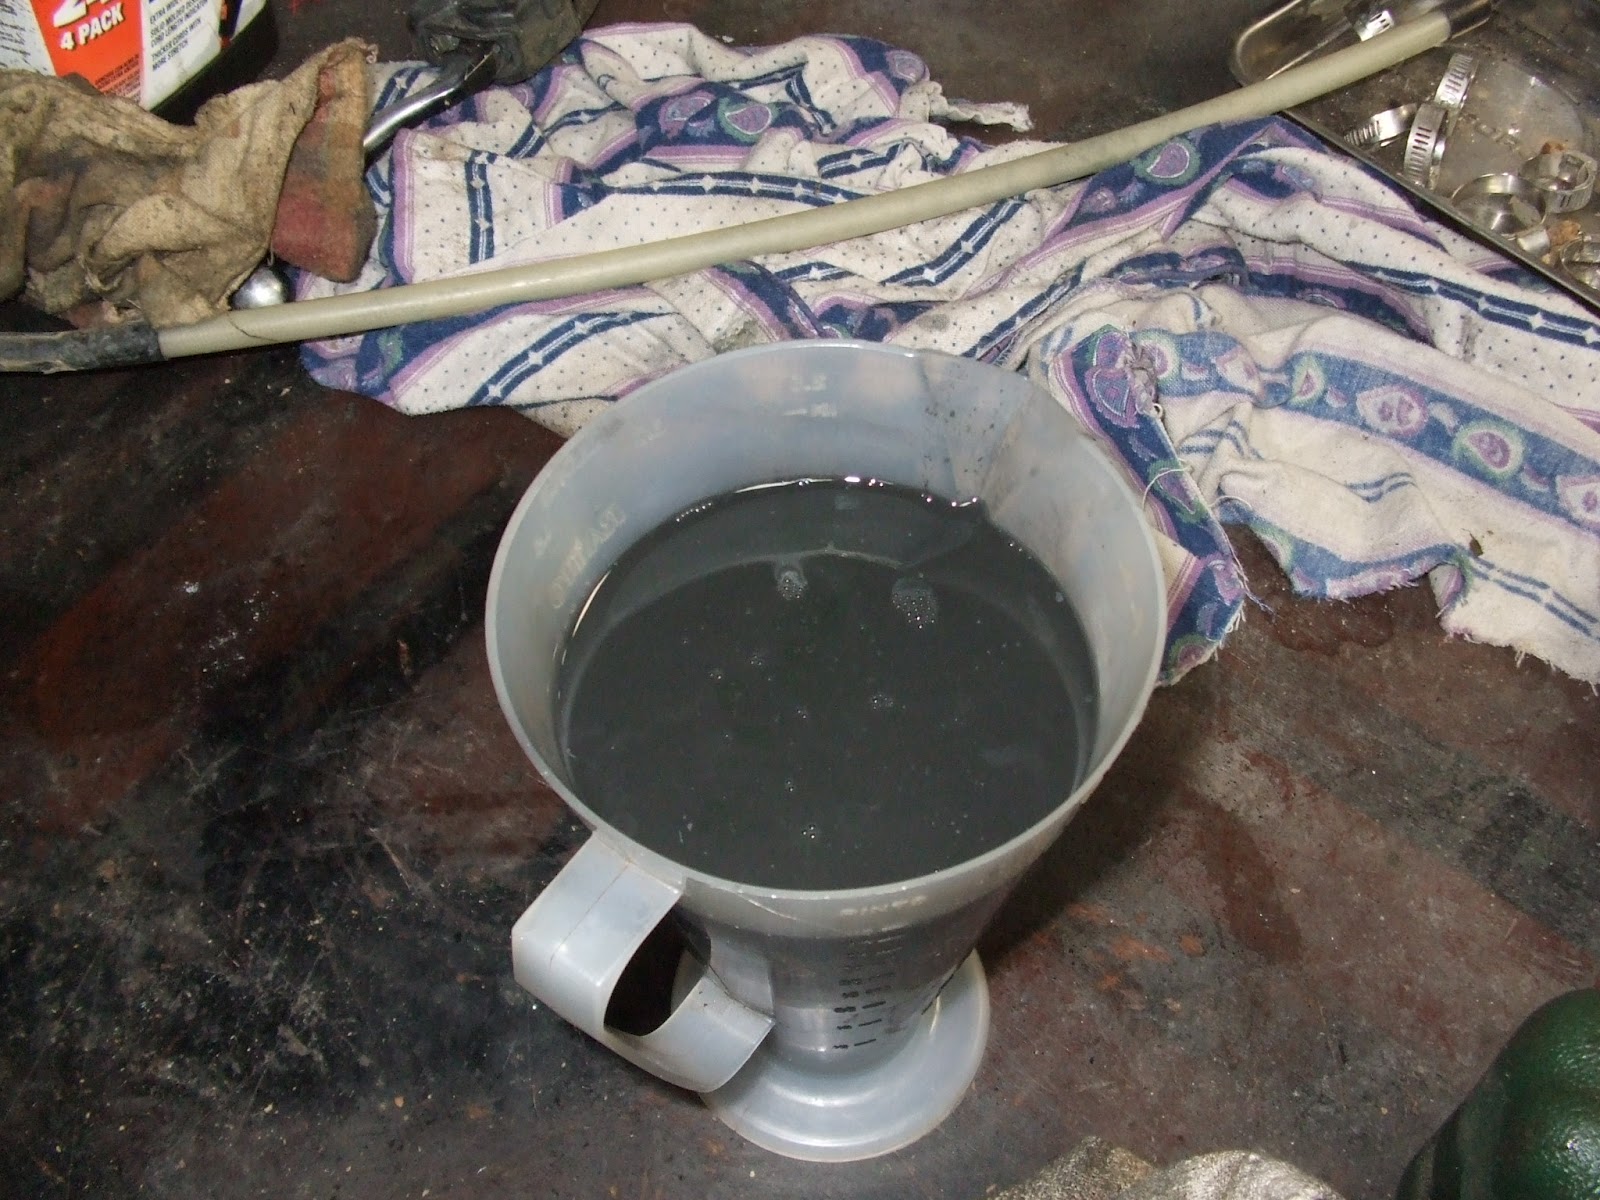
Here is the Oil that I took out of the forks, its a bit grey and murky.  The strange thing was when I was draining the oil it ran clean toward the end of draining and looked pretty good.  My conclusion is that it has sat for so long that the contaminates settled to the bottom.


After I drained the forks I let them sit for a couple days then took the plugs out and drained them one more time to see if any more had run to the bottom.  Then I put several ounces of solvent in and shook that around and pumped them up and down and drained that. It came out pretty dirty and gritty so I did that until the solvent was not so dirty after which I let them sit opened up at the top and bottom to dry the solvent out.  
To replace the old oil I put in 600cc of the nice green Bel-Ray Fork oil that you see in the Photo above.
Back on the Frame they go, Its starting to look like a bike again.


Saturday, March 10, 2012

Front Brake Cleaning

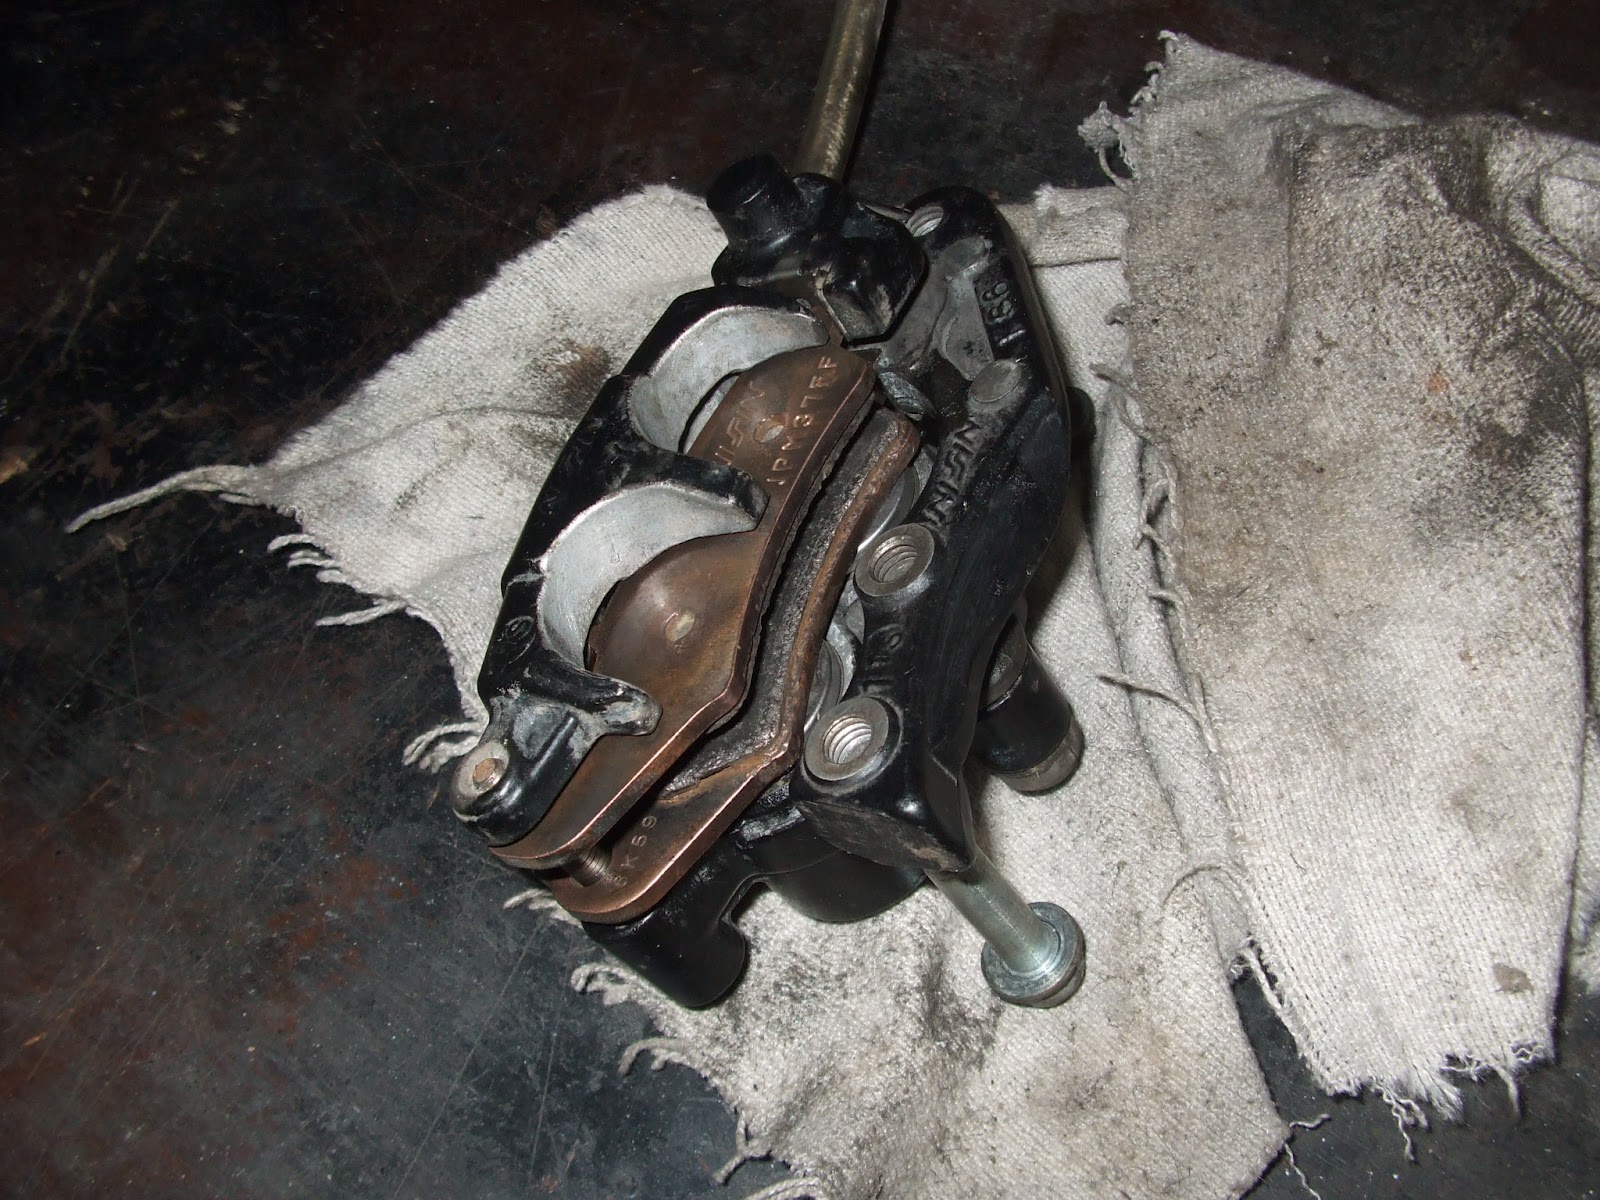
After Going through the rear brake master and caliper I figured it would be a good idea to take a look at the front one.  Turns out that it was not near as bad as the rear.  There was some rust and corrosion on the pads and spring tensioners as well as some corrosion on the pistons.  The Oil in the front was actually clean and clear. The level is a bit low but I will wait to add any until I can mount it on the bike. it will be easier to hold and to bleed the system if needed.  The biggest thing that needed done on this one was to clean the pistons up so they move freely as well as the pins that slide with the caliper. Once that was done it was ready to put back together and wait to be mounted to the bike.

Saturday, March 3, 2012

CR125 restore Photo update.

Lets take a photo look at the progress made today.


I started by making some new gaskets for the water pump housing and putting those in place along with the pump cover.


Then I moved on to Dropping the freshly painted bottom end of the motor into the frame.


Then I moved on to cleaning and inspecting the shock to make sure everything was in fine operational condition. At some point I will have the oil changed in the shock but for now it is serviceable. I removed the seals from the top bushing and cleaned it out and re greased it, then put seals back in place. Also played with the clickers while the shock spring was removed to see if they worked properly, and yes they do.  Finally I mounted the shock in place.  I like how the blue looks with the flash red paint.


I finally got around to cleaning up and greasing the head bearings as well as cleaning the clamps and putting them back on the frame.


Glancing around the work bench I turned my attention to the rear master cylinder and the caliper. It seemed a bit froze up. As I pumped the brake pedal in my hand it didn't do anything at the caliper so what else does a person do? Tear it apart and give it a good servicing.  Started by draining all the old oil out, it was a bit more brown then it should have been.  Then washed solvent through hoses and master cylinder all the way through the caliper till it ran clean.  Then put new oil in the system and bleed that through to get the air out. Also cleaned the outside of the hoses, caliper, master cylinder and reservior. Put it all back together and mounted it to the bike.

Also cleaned and mounted all the electrical components.
Its fun to watch things go back to gether.


Saturday, February 25, 2012

Suspension Meets Frame

Well some of it, I don't have it all cleaned and greased up just yet but I'm working toward that.


I had cleaned up and greased the swing arm a couple days back so it was ready to go on.
With the lower linkage and swing arm in place I will cleaned up the shock next and put that in place.

Chassis Build up Starts as well.

In this post  I have started the chassis re-assembly.  It looks so pretty with fresh paint.
First off I need to clean up the linkage and make sure the bearings are all good and spin nice and free, add grease here please.

Any one Remember these?  Needle bearings with no keeper, they just sit in a little race inside the housing.  These came out nice no grease to speak of so I am surprised they are not rusted. They will have lots of grease when they go back in.

The needles hold in there nicely with grease so you can get them in and all lined up. Packed with grease and ready for the pin.

This one doesn't look so good, its only 3.5 inches away from the other one and its full of rust.  The Bad part is its rusted, the Good part is it can be cleaned up and used.

There it is cleaned up and ready to put back into service.  Load up with grease and its good as new. I also did the lower dog bone linkage, it looked a lot like the first one in this post.